

Easy Red Velvet Cookies – Chewy, Chocolatey & No-Chill! (30 Minutes)
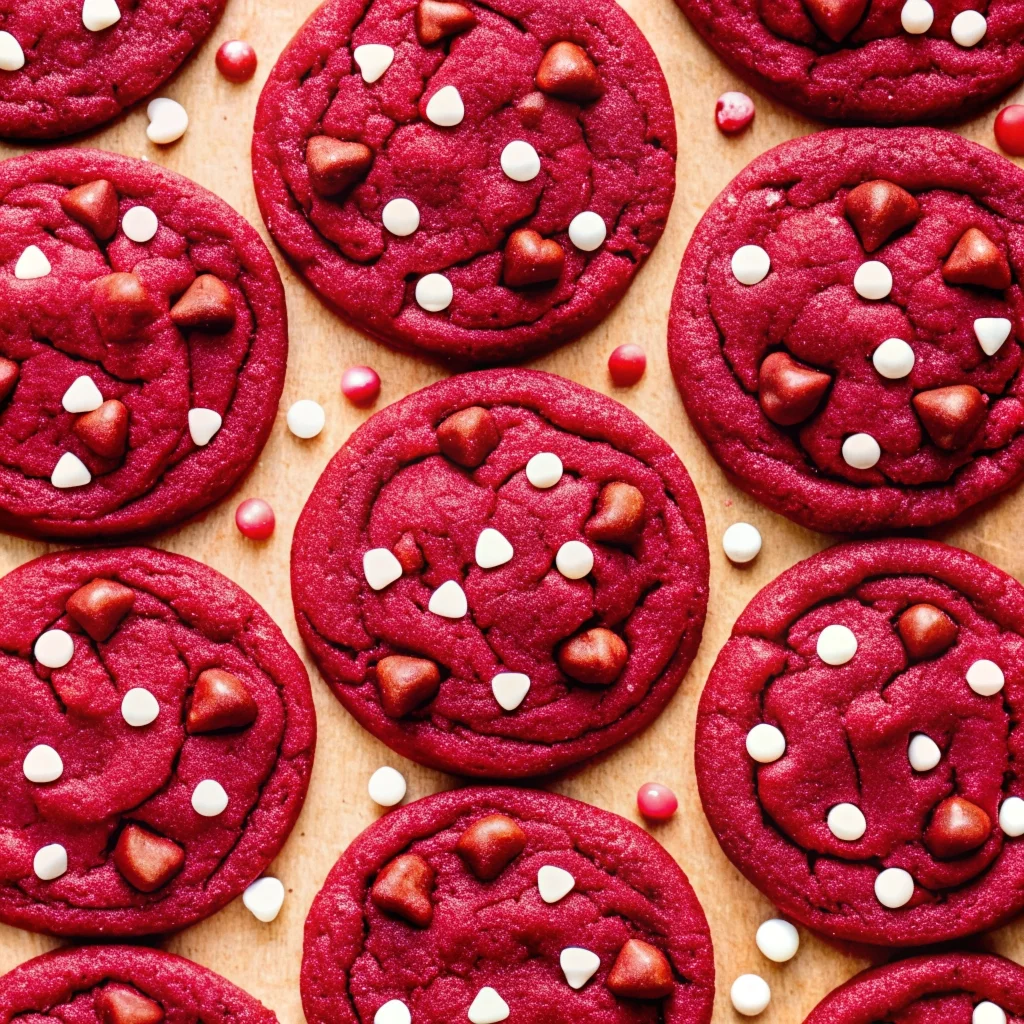
Table of Contents
The Cookie That Captures the Magic of Red Velvet Cake
What if you could enjoy all the beloved flavor and drama of a classic red velvet cake, but in a portable, chewy, irresistible cookie form? That’s exactly what these Red Velvet Cookies deliver. Imagine a cookie with a deep, festive red hue, a subtle hint of rich chocolate from Dutch-process cocoa, and pockets of sweet, melty white chocolate in every single bite. They boast the perfect texture: crispy, slightly crinkled edges giving way to a supremely soft and chewy center. Best of all, this dough requires zero chill time, which means you can be enjoying warm, bakery-quality cookies in just about 30 minutes from start to finish. They’re the ultimate treat for Valentine’s Day, Christmas, or any day that calls for a spectacular yet simple homemade dessert.
Why These Valentine’s Day Cookies Recipe is a Keeper
- Unbeatable Texture: Achieves the holy grail of cookie textures—crispy edges with a soft, chewy center that stays moist for days.
- Zero Chill Time: Say goodbye to waiting! This dough is scoop-and-bake ready, making it perfect for spontaneous cookie cravings.
- Authentic Red Velvet Flavor: The combination of Dutch-process cocoa and a touch of acidity (from baking soda/powder) creates that classic “red velvet” taste, not just a chocolate cookie dyed red.
- Visually Stunning: The vibrant red color studded with white chocolate makes these cookies a showstopper on any dessert plate or cookie tray.
- Surprisingly Simple: With straightforward steps and common ingredients, this recipe is foolproof for bakers of any level.
Gathering Your Simple, Flavorful Ingredients for these Chewy Cookies
- 1 ½ cups + 2 tablespoons (204g) all-purpose flour, spooned & leveled
- 2 tablespoons (10g) Dutch-process cocoa powder
- ½ teaspoon baking soda
- ½ teaspoon baking powder
- ½ teaspoon fine sea salt
- ¾ cup (168g) salted butter, softened to room temperature
- ¾ cup (165g) packed light brown sugar
- ¼ cup (50g) granulated sugar
- 2 large egg yolks, at room temperature
- 1 tablespoon vanilla extract or vanilla bean paste
- 1 – 1 ½ teaspoons red gel food coloring
- ¾ cup (150g) chopped high-quality white chocolate or white chocolate chips
Smart Swaps & Tips: Dutch-process cocoa is highly recommended for its smooth, less acidic flavor that defines red velvet. If you only have natural cocoa, add an extra ⅛ tsp of baking soda. Gel food coloring is more potent and won’t thin your dough like liquid coloring. For the richest flavor, use a chopped bar of white chocolate instead of chips—it creates beautiful, uneven pools when melted. Ensuring your butter and egg yolks are at true room temperature is key for proper creaming and texture.

Your Step-by-Step Guide to Easy Cookie Recipe Perfection
1. Prep & Mix Dry Ingredients: Preheat your oven to 350°F (175°C). Line baking sheets with parchment paper. In a medium bowl, whisk together the flour, cocoa powder, baking soda, baking powder, and salt. Set aside.
2. Cream Butter & Sugars: In a large bowl using a hand mixer or stand mixer fitted with the paddle attachment, beat the softened butter, brown sugar, and granulated sugar together on medium-high speed for 2-3 minutes, until the mixture is light, fluffy, and pale in color.
3. Add Wet Ingredients & Color: Add the egg yolks, vanilla, and red gel food coloring to the butter mixture. Beat on medium speed for another 1-2 minutes, until fully incorporated and the mixture is smooth and uniformly red. Scrape down the bowl as needed.
4. Combine Dry & Wet: With the mixer on low speed, gradually add the dry ingredient mixture. Mix until just combined and no dry streaks of flour remain. Be careful not to overmix.
5. Fold in Chocolate: Using a spatula, gently fold in the chopped white chocolate until evenly distributed throughout the dough.
6. Scoop & Bake: Using a medium cookie scoop (about 1.5 tablespoons), portion the dough into 18 balls. Place them at least 2 inches apart on the prepared baking sheets. Bake for 10-12 minutes. For super chewy centers, bake for 10 minutes—the centers will look soft. For crispier edges, bake for the full 12 minutes.
7. Cool & Shape: As soon as the cookies come out of the oven, you can use a large round cookie cutter to gently swirl around each cookie to create a perfect circular shape (optional). Let the cookies cool on the baking sheet for 5 minutes before transferring them to a wire rack to cool completely.
Pro Tips & Flavor Variations
- The #1 Rule: Measure Flour Correctly: For perfect texture, spoon flour into your measuring cup and level it off. Even better, use a kitchen scale for absolute accuracy (1 cup = 125g).
- Creaming is Key: Don’t rush creaming the butter and sugars. This step incorporates air, which is essential for the perfect chewy-yet-crisp texture.
- Add a Cream Cheese Swirl: For the ultimate red velvet experience, drop small ½-teaspoon dollops of sweetened cream cheese mixture onto the dough balls before baking and swirl lightly with a toothpick.
- Different Chips: Not a white chocolate fan? Use semi-sweet or dark chocolate chips instead. You can also add ½ cup of chopped pecans for texture.
- Make them Festive: Use different gel food colors for holidays—green for Christmas, pastels for Easter, or orange for Halloween.
Serving Suggestions for a Sweet Celebration
These cookies are fantastic on their own with a cold glass of milk. For a decadent dessert, crumble a cookie over vanilla ice cream. They make a beautiful addition to a holiday cookie box alongside classics like our Thumbprint Heart Cookies and Chocolate Covered Strawberries.
Nutrition Information
(Per cookie, approx.) Calories: 190 | Carbohydrates: 24g | Protein: 2g | Fat: 10g | Saturated Fat: 6g | Fiber: 1g | Sugar: 16g. This is a rich, indulgent treat.
Storage & Reheating Instructions
Storage: Store completely cooled cookies in an airtight container at room temperature for up to 5 days. They stay wonderfully chewy.
Freezing: You can freeze the baked cookies for up to 3 months. The unbaked dough balls also freeze beautifully; bake from frozen, adding 1-2 minutes to the bake time.
Reheating: To recapture that fresh-baked warmth and melt the chocolate, microwave a cookie for 5-10 seconds.
Your Red Velvet Cookie Questions, Answered
- Can I use liquid food coloring instead of gel?
You can, but you’ll need much more (likely 2-3 tablespoons) to achieve a vibrant red, and it may slightly alter the dough’s consistency. Gel or paste coloring is highly recommended. - Why only egg yolks?
Using just the yolks (which are high in fat) creates an incredibly rich, tender, and chewy cookie with less cake-like structure than using whole eggs. - My cookies didn’t spread much and stayed puffy. Why?
This usually means you measured the flour incorrectly (too much) or your baking powder/soda may be old. Always spoon and level your flour, and ensure your leaveners are fresh. - Can I make these without the white chocolate?
Absolutely, though the sweet white chocolate is a classic pairing that balances the cocoa. You could leave them plain or use another mix-in like pecans or dark chocolate. - How do I get that perfect crackly top?
The crackly top comes from the right balance of moisture, sugar, and leavening. Creaming the butter and sugars properly and using the correct amount of flour are the biggest factors. The recipe is designed to achieve it!
More Incredible Chewy & Festive Cookies You’ll Love
If you’re a cookie connoisseur, explore our other favorites. For another stunning red treat, try our Strawberry Cheesecake Cookies. If you love white chocolate, our White Chocolate Cranberry Cookies are a holiday classic. And for a different kind of chocolate indulgence, our Fudgy Brownie Cookies are a must-bake.
Inspired by a Classic Cake Turned Cookie
This recipe is inspired by the timeless appeal of red velvet cake, transforming its iconic flavor and striking color into an easy, handheld cookie. It focuses on achieving that perfect chewy texture and balanced flavor that makes red velvet so special, using simple techniques for a reliably stunning result. The method celebrates the joy of a from-scratch cookie that looks and tastes professionally made, much like the approach in popular Red Velvet Cookies on In Bloom Bakery.
Pin This Perfect Cookie Recipe!
Don’t let this foolproof, gorgeous recipe get lost! Click the Pinterest save button to keep these Red Velvet Cookies on your “Favorite Cookies” or “Holiday Baking” board. When you make them, share your beautiful creation with us by tagging @theseasonrecipe on Instagram. For more show-stopping dessert recipes, browse our full collection of cookies and chocolate treats!

Red Velvet Cookies
Equipment
- Electric Mixer (Hand or Stand) Essential for proper creaming.
- Parchment Paper For easy cleanup and preventing sticking.
Ingredients
- 1.5 cups + 2 tbsp all-purpose flour, spooned & leveled (204g)
- 2 tbsp Dutch-process cocoa powder (10g)
- 0.5 tsp baking soda
- 0.5 tsp baking powder
- 0.5 tsp fine sea salt
- 0.75 cup salted butter, softened (168g)
- 0.75 cup packed light brown sugar (165g)
- 0.25 cup granulated sugar (50g)
- 2 large egg yolks, room temperature
- 1 tbsp vanilla extract
- 1 tsp red gel food coloring (up to 1.5 tsp)
- 0.75 cup chopped high-quality white chocolate (150g)
Instructions
- Preheat oven to 350°F (175°C). Line baking sheets. Whisk flour, cocoa, baking soda, baking powder, and salt in a bowl.
- In a large bowl, cream softened butter, brown sugar, and granulated sugar with an electric mixer for 2-3 mins until light and fluffy.
- Add egg yolks, vanilla, and red gel food coloring to the butter mixture. Beat for 1-2 mins until smooth and uniformly red.
- With mixer on low, gradually add the dry ingredients. Mix until just combined with no dry streaks.
- Using a spatula, gently fold in the chopped white chocolate until evenly distributed.
- Scoop dough into 18 balls (1.5 tbsp each). Place 2″ apart on sheets. Bake 10-12 mins. Cool on sheet for 5 mins before transferring.


